**The steps below to create the background image may be followed by anyone, however, if you are using a blogging site other than blogger you will have to upload your image to an image hosting site and then use a tiled background code in your sites html.**
STEP 1
Open up Photoshop and create a document 1980x300 pixels at a resolution of 72 pixels per inch. I find that an image 1980 pixels wide or larger ensures that it fits on all computer screens. Having the image be 72 pixels per inch also helps keep the file size down and is all you need for online viewing.

STEP 2
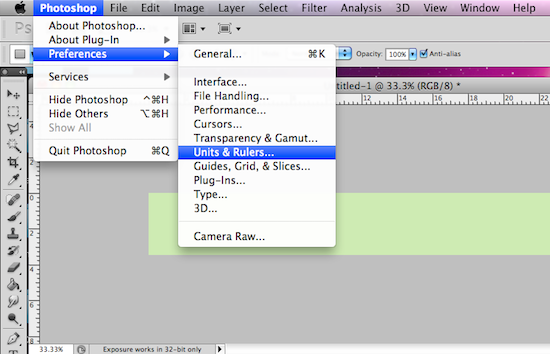
Fill the rectangle with whatever colored background you would like. I chose a mint green. Once you have filled the background please make sure that your rulers are set in pixels by selecting - Photoshop > Preferences > Units & Rulers > Pixels > OK.

STEP 3
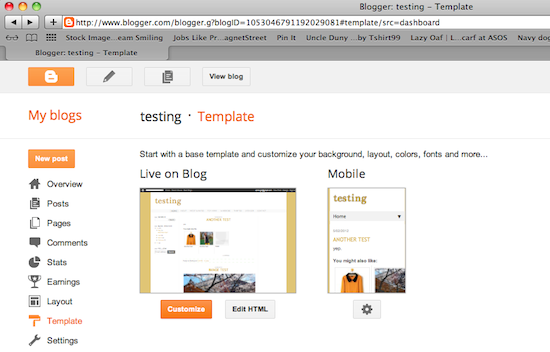
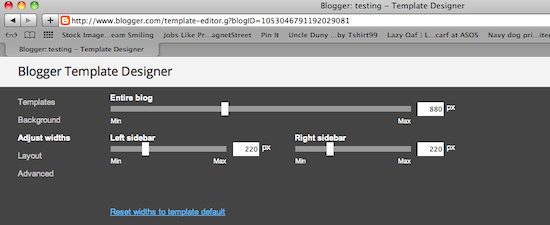
Next we need to figure out what the width of your blog is. If you do not know please go to your blogger homepage > Template > Customize > Adjust Widths > and view. My tester blog is set at 880 pixels so I want to make sure that whatever my inner background is it is at least that width or larger.
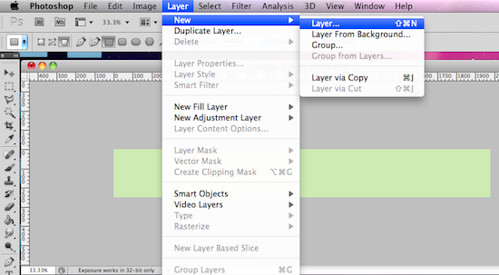
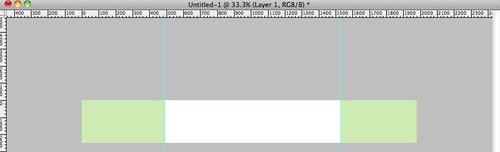
STEP 4
First create a new layer - Layer > New > Layer. In the new layer proceed to create a rectangle (this is the background for your text) larger than your blogs width (in this case my blogs width was 880 pixels ^). I chose to make mine a bit larger by making the inner background 1040 pixels wide. Once you have measured and created the rectangle center the box within the 1980 pixel space.

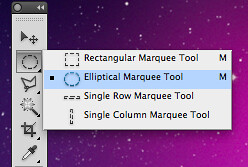
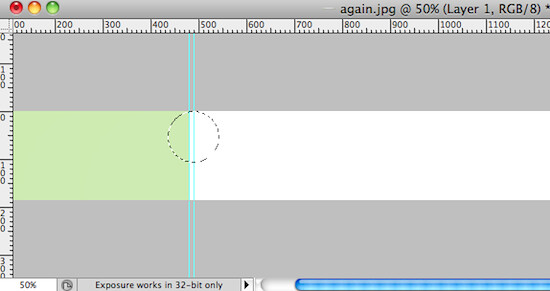
STEP 5
Once you have the inner background centered it is time to add the fun border. For this tutorial I added a scalloped edge. To do this first be sure to create a new layer. Once you have made a new layer create a circle with the elliptical marquee tool - be sure to hold down the shift key to ensure you create a perfect circle.
STEP 6
Fill in the circle with the color of your inner background. Once finished copy this filled in circle layer.
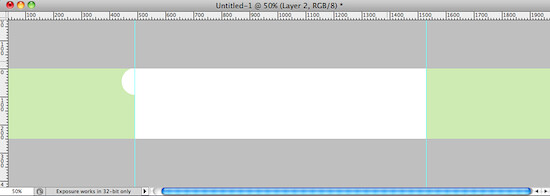
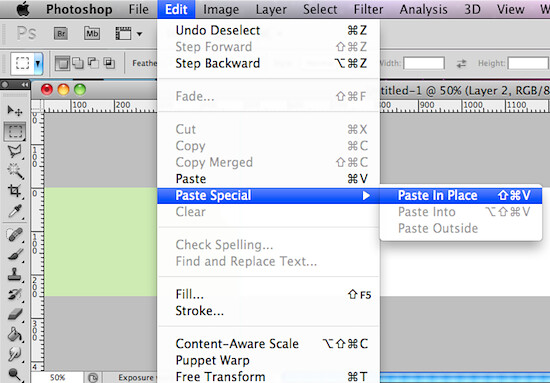
STEP 7 Once you have copied the circle layer proceed to paste the circle in place - Edit > Paste Special > Paste In Place. Drag the pasted circle below the other to create the scalloped edge. From here copy and paste in place the two circles and drag them to the opposite side of the inner background. Crop the image to the sides of the circles, or enlarge the circles to fit the space as shown below.

STEP 8
We are in the home stretch! Save this file as a .jpg.
STEP 9
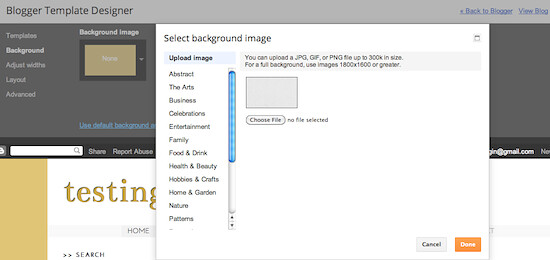
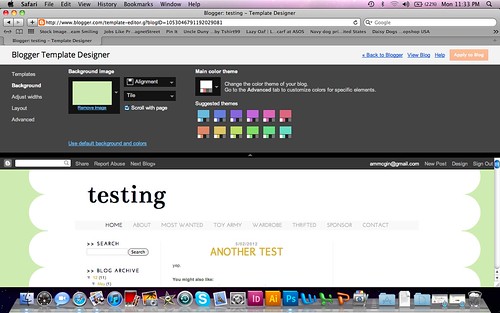
Now head back to the to the template page of your blog and re-enter the customize section. From there select Background > Upload image > Upload your newly designed background image.
STEP 10
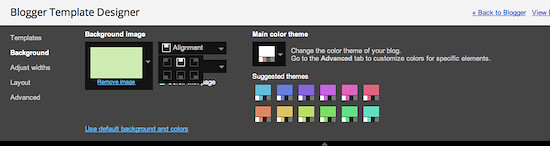
Once you have uploaded your image click on alignment next to your file. Select centered alignment and tile image - this will center and repeat your background.
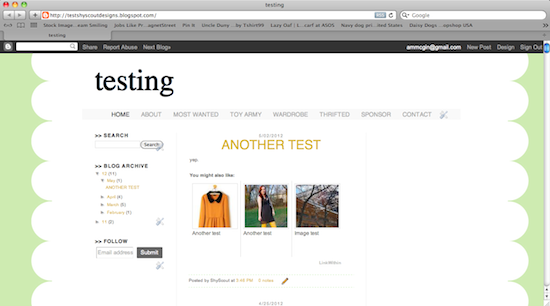
VIOLA!! You did it :] You may or may not have to play around with the image or the widths of your blog to ensure that it is perfect, but at least now you have the tools and are well on your way. Have fun!
Teaching this stuff via the web is a lot more difficult and time consuming than I had anticipated. I never really think out the steps, I just do them. If this tutorial is difficult to follow, or if you have questions please let me know! Also, please let me know of any other blog design questions you would like answered and I will do my very best to answer them for you in an upcoming post :]
Have a great day everyone!!